Showing posts with label Distress Ink. Show all posts

Tuesday, September 4, 2012

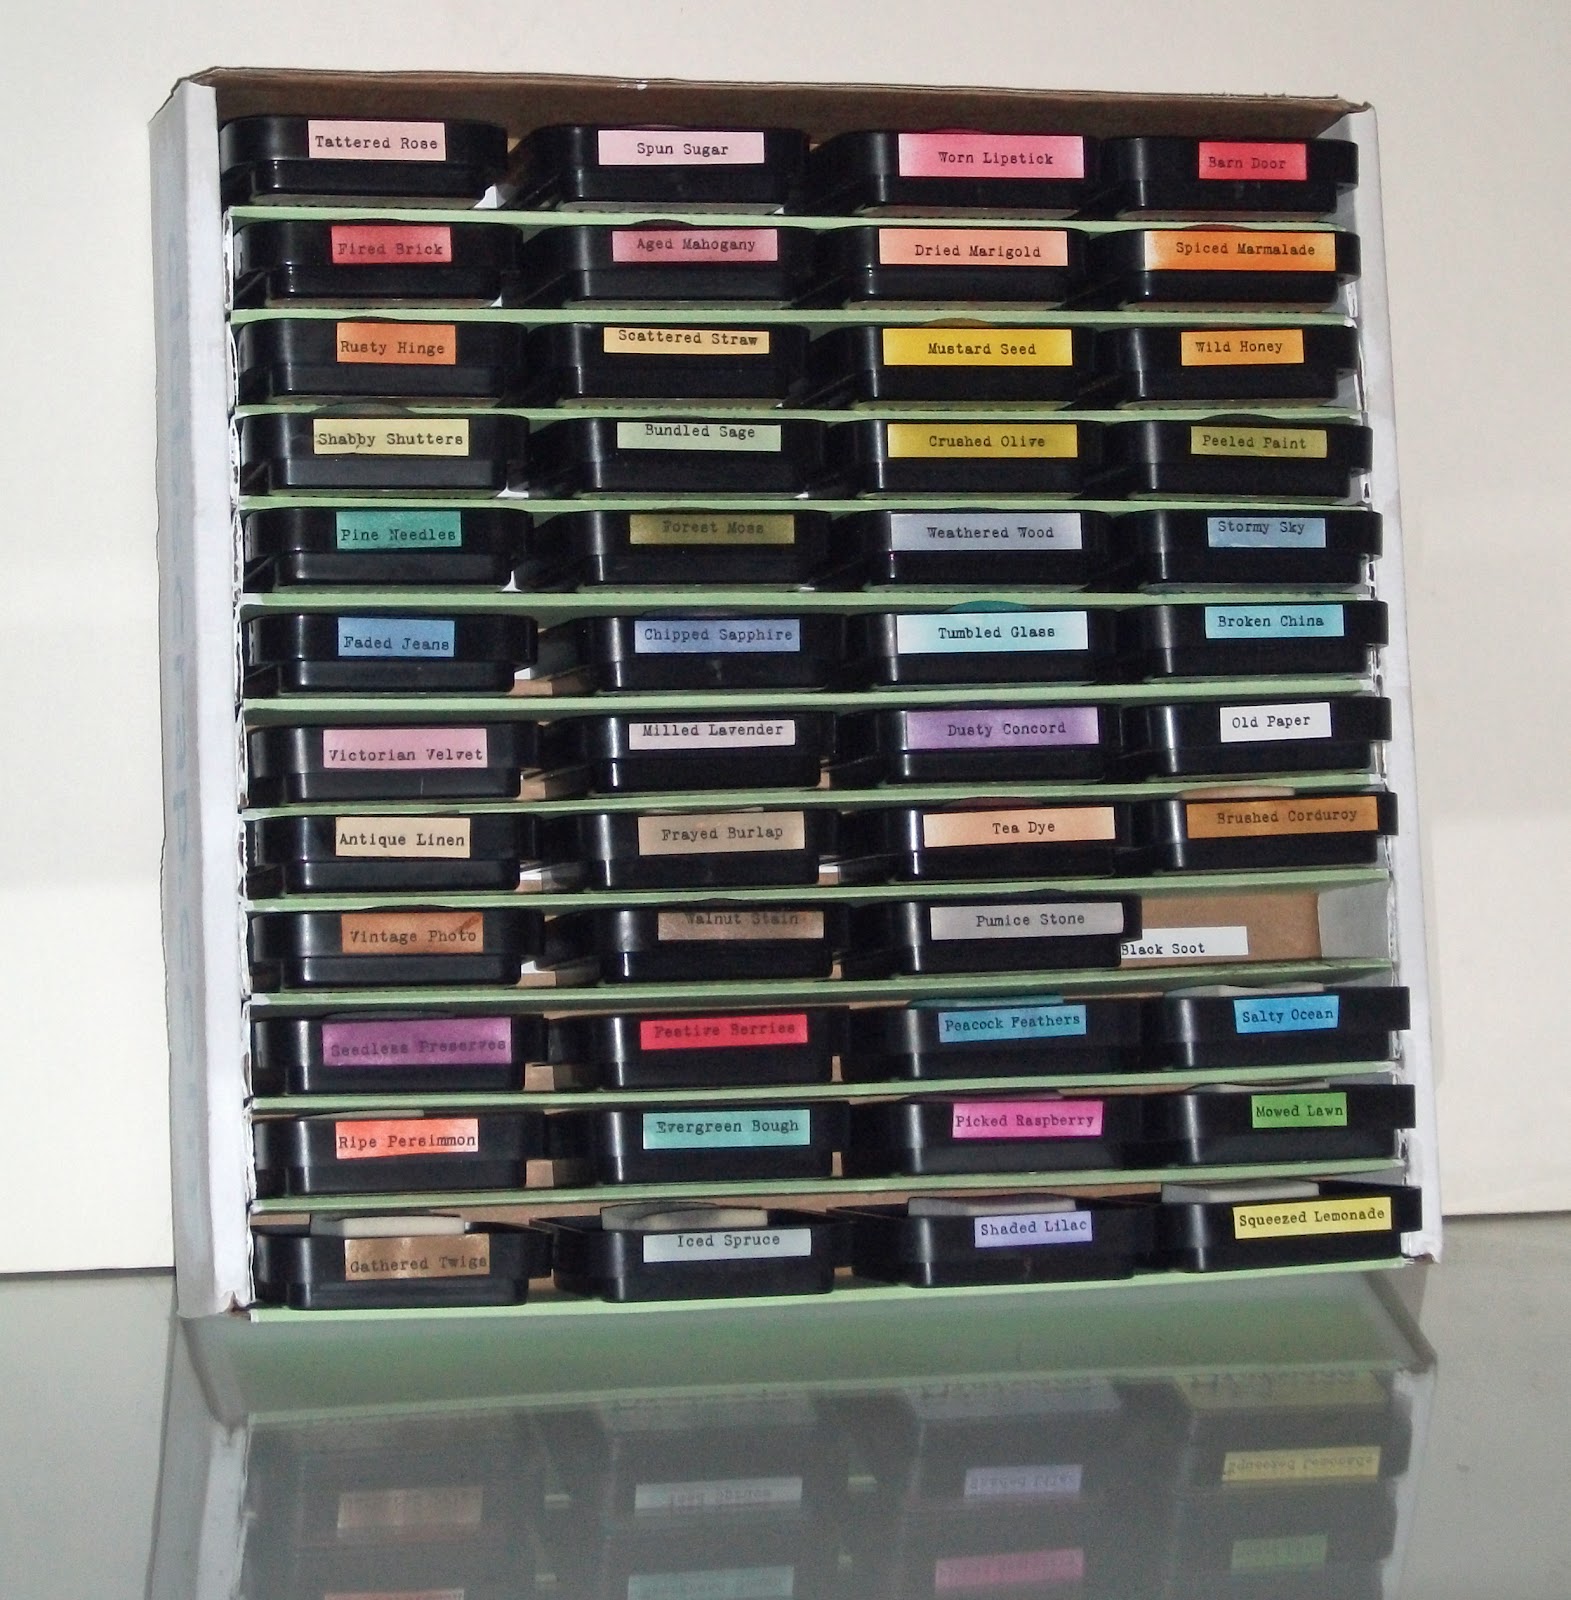
Ink pad storage out of 2 Club Scrap Pizza Boxes!


Those of us who have been monthly members at Club Scrap for some time, have accumulated quite a collection of their famous pizza boxes. I’ve used mine to store all kinds of things (tax documents, wood mounted stamps, game pieces, and of course paper!). In addition, I’ve used them for wrapping gifts of all kinds. Well, I have been wanting to buy or make a storage box for my ink pads and so I played around one night and came up with this. I’ve only just started using it, so I don’t know how well it will hold up, but I love that all the inks are in one place and I can easily see, remove and replace them. I’ve chosen to store the pads upside down, because I found it easier to pull them out this way. I’ve also applied a strip or two of ATG tape to the bottom side of each pad to hold the matching inking foam.


I have created a written tutorial with plenty of photos. If the link doesn't work for you then just send your email address to me at cameragal67@gmail.com. 

Friday, June 1, 2012

Squirrely Challenge - Colorful Silhouettes

Mother Squirrel, aka Nancy at Squirrely Art, has challenged the squirrel girls to try our hand at a Technique Junkies tech from the Aug/Sept 2011 issue called Colorful Images. Very simple technique, but renders nice results. I pinned this card a while ago and this seemed the perfect opportunity to do it. Getting a very early start on my Halloween cards I guess!
I don't know the stamp manufacturers for the bats, raven or Happy Halloween, but the crackle background is from impression obsession and the tree is from Posh Impressions (good ole Dee Greunig...remember her??) Used distress inks, rusty hinge, wild honey & brushed corduroy just like my pinned example did, but i decided against the fluffy white clouds.
Thanks for looking and be sure to check out the other squirrel girls.

Jennifer
Connie
Julie
Diana
Rachelle
Farley

Sunday, April 10, 2011

Grungy Monday 2 - Hello in there


The technique put forth by Linda at Studio L3 this week for Grungy Monday is a matte medium resist that T!m demonstrates here. I don't own any steel rule dies so I couldn't make my own foam stamp, but I used a stencil instead and it worked beautifully. The base is an actual page from our local phone book business section and the rest of the paper is Club Scrap (of course) from an older kit Autumn Splendor. The phone stamp is also from the Gimme A Ring kit by Club Scrap. The design of the page is from a Club Scrap challenge this month to use this sketch:
Image

My song inspiration is a very sad and touching song by John Prine (a favorite of my family's) called Hello in there. I've used the chorus on the upper right corner of my piece and below:

Ya' know that old trees just grow stronger,
And old rivers grow wilder ev'ry day.
Old people just grow lonesome
Waiting for someone to say, "Hello in there, hello."

I don't fancy myself an artist...I simply like to play with paper, but it's interesting what a journey art can take you on if you are open to it. I created this piece with my brother in mind. He passed away 4 years ago tomorrow at the age of 47. Sometimes I still can't believe he's gone and other times I'm amazed he stayed as long as he did. He had a tender heart, but a troubled soul and although he didn't grow old, he definitely grew lonesome. I just wish he could have heard our "hello's". I hope he has found peace; I love you big bro.

Sunday, April 3, 2011

A Brand New Challenge

Linda has conceived a new challenge over at Studio L3. We've finished all of the Compendium of Curiosities and have moved on to any and all of T!m's techniques. For the inaugural week, she has chose this lovely creation from 2008 to inspire us:

Tag_2
Along with this challenge, my sister Jennifer and I have decided to challenge ourselves by theming our submissions using Songs as inspiration. She is choosing to limit her choices to the solo and collective works of the Beatles. I'll be placing no such limits on myself, but I will be trying to use songs that mean something to me (altho i may have a random odd choice here and there :) )

My song choice this week is Elusive Butterfly by Bob Lind. It's been done by Dolly Parton & Cher, and I'm sure a number of other artists as well. I was fortunate to be raised with a great appreciation of all kinds of music. My mom and dad always seemed to have music playing and they had varied tastes, so I am thankful that I do as well. This is one i remember quite well, but i won't be surprised if you don't!

Across my Dreams with nets of wonder;
I chase the bright, elusive butterfly of love.

I am also submitting this for:

-The Flutter by Wednesday challenge #48 (use a button and a bow)
-Pals Paper Arts PPA#86 challenge (embossing) - correction: I'm 2 late for that one! maybe next time!

paper: graphic 45 and Club Scrap (Poetry & Adobe)
stamps: butterfly/magenta
Sil cuts: inspired by Tim's gears
distress inks: broken china
other: copper shimmer memories mist,
club scrap copper foil embossing powder,
pearlescent watercolors
netting (bath puff!)

Tuesday, December 28, 2010

T!m's 12 Tags of Christmas - Day 8

Here is my Day 8 creation (for lack of a better term)...it's certainly not a tag!

This is a lovely votive lantern thingamajig. The base of this is started life as a zen garden from Dollar Tree...to which i added 3 battery powered votive candles from dollar tree. the lantern shade is made from the most beautiful sheet of pearly white paper from the newest Club Scrap collection called Vogue which has been stamped with Brilliance Starlite Silver and Club Scrap's own white pigment ink pad in swirls (unknown) and sparkles (Club scrap).

The row of houses and sleigh & reindeer were cut with my Silhouette out of an old piece of Club Scrap paper from the Bugs collection and inked with Pine Needles & Barn Door. The reindeer are stamped with the poem "twas the night before Christmas". The Sky's The Limit! is a stencil from the Club Scrap kit called wings. The houses are topped with White Opal perfect pearl and sprinkled with ultra fine glitter and also sprayed with English Ivy glimmer mist.

The clock/moon is exactly that. Both images were downloaded from the internet and overlaid in photoshop. I printed the combined image onto transparency and adhered to another piece of the pearly paper which was inked with Mustard Seed DI.

I think it took me longer to type this description than it did to do the actual piece. Onto day 9!

Saturday, December 4, 2010

T!m's 12 Tags of Christmas - Day 3

Ok...mine doesn't look much like T!m's, but it's deliberate! I tried to focus on the technique and i took that as the tissue tape. I don't have tissue tape, but i stamped and inked tissue, cut it into strips and applied atg tape to the back of it and made my own. The button center is from a CM kit. The paper (except the dove) is Club Scrap from a kit that I think is called Nature's Retreat. Ornament, bird & olive branch & text all cut on Silhouette. In addition to distress inks, I used Club Scrap's white pigment ink for the swirls on the dove. Oh, and i used my Position-it (bought thru Club scrap) to line up the background text stamp (works like a dream!)

Updating to also mention the red lace around the outside. I bet that has been in my craft stash for 20 years. So glad to be using up some of these things finally!

T!m's 12 Tags of Christmas - Day 2


Again focusing on the technique or just being inspired by T!m's example, I did actually make my own custom stamp pad out of a cushion shoe insert! I don't have cut n dry foam and this worked beautifully (see pic below so you believe me!) I'd love to take credit for this stroke of genius, but it was entirely my brilliant & talented Sister's suggestion.

I've chosen to do this "tag" on a inexpensive frame (from dollar tree!) which I stamped with alcohol ink (because the distress ink wouldn't dry on it). I added a seasonal salvage sticker onto a a yummy charcoal from Club Scrap's latest kit called Vogue. In the 3rd opening, I added a real pinecone and faux pine bough (also bought at dollar tree). The metal embellishment is a bottle cap from a Bud Light (i believe) and a circle cut from the Seasonal Salvage Sticker pack covered with crackle accents.


Wednesday, December 1, 2010

T!m's 12 Tags of Christmas - Day 1


December 1st finally arrived. I was so excited to see T!m's tag that i woke up in the middle of the night just to check it out and then had a hard time going back to sleep with visions of fences & houses dancing in my head!

For however many i'm able to follow along with, this year, I'm really going to try to force myself to think more artistically, and less literal (which is something i really struggle with), and avoid the temptation to copy exactly (although some i'm sure i will, lol). I sometimes lean more toward skittles than grunge (an ongoing battle between Jennifer McGuire & T!m), but I love the grunge look too, so I’m really not sure what my style is (still finding it I guess)

This one is created on a wood oval i found at Dollar Tree...the inking technique T!m outlines here worked perfectly on this surface after a base coat of paint. The rest of the elements (house, bird, fence, tree) are all cut on my Silhouette and in most cases were drawn right in the Silhouette software (the tree is the exception...it was a purchased shape). The limitation of the Silhouette is that I can’t cut grunge paper, so I turned to the next sturdiest paper I know….CLUB SCRAP! I’ve used the white paper from a very old kit called Key to my Heart and colored it with distress inks. For the house, I used a Fiskars texture plate (basketweave) to add embossing to my house. I cut that into strips and used dimensional foam pieces to create depth on my “siding”. I then sanded to reveal some of the white again. The bird is more white inked with barn door distress ink and accented with black enamel accents. The tree is inked with Walnut stain and accented with ultra fine glitter (for snow). Ultra fine glitter is also used on the fascia board pieces on the house. Tim’s crackle paint is applied to the Club Scrap paper fence, but I didn’t get much crackling. The 25 comes from T!m’s Seasonal Salvage stickers.


Sunday, November 28, 2010

Compendium of Curiosities Challenge Week 23

Hello to all. If you celebrate Thanksgiving, I hope you had a blessed day full of good food, friends, family and fun! I've been loving my 4 day weekend which is sadly coming to a close tonight. But, I thought I'd get my submission in early just in case I can manage to find any time to play along with T!m's 12 tags of Christmas later this week. I'm so excited i can hardly stand myself!

Linda's challenge this week over at Studio L3 is the Double Distress technique (details of the challenge can be found here at her blog and details of the technique can be found on page 40 of T!m's Compendium of Curiosities. I've departed from my pennants for this week.

Double distress was done with the brick & woodgrain texture fades (on the fireplace front in grungeboard & and trim pieces in paper, but my Silhouette was working OT on this challenge. I cut about 45 holly leaves for the wreath and several sets of flames, all of which were colored in one way or another with distress inks and sprayed with perfect pearl mist. The stockings were also cut on the Silhouette. The paper (as almost always) comes from Club Scrap (it's just the best quality stuff out there!!). I've used several pieces from an older kit called Old South. The fireplace and hearth are constructed from book board (which I cut on my power miter saw....felt good to use a power tool for a change!) The Peace On Earth text was just done in PSE and printed onto another piece of CS paper from Old South, and the banner is a trick I picked up from the abundantly talented and lovely Jennifer McGuire.

I'm planning to dig through my basement stash and find an 8x10 shadow box frame (which I know i have somewhere, lol) to put this in. I was thinking of making these as gifts, but this one took me so long, I'm not sure i have enough time to invest for the number of them I'd like to make. Now that I've made one though, I'm sure subsequent ones would go faster.


Sunday, November 14, 2010

Compendium of Curiosities Challenge Week 21

My muse is apparently back on it's late track. It's been a crazy busy week for me, so I'm just happy to post anything. Starting school is proving to put a real cramp in my crafting, so I've got to get better about budgeting my time.

This week the challenge put forth by Linda at Studio L3 is called Perfect Distress. All the wonderful details of which can be found on T!m's Compendium of Curiosities Book Page 38.

I really do like this technique all the way up to the last couple of steps. Then it feels like I'm ruining a perfectly (pun intended) lovely image! Oh well, I did it anyway and didn't get a lot of result from it, so I was happy with the way it turned out. This is the E for my CRE8 banner. Just one more letter to go and I'll have to come up with another inspiring word (suggestions welcomed and appreciated!)

I've used papers from Rusty Pickle & Club Scrap (Gratitude & Scholarship kits). Fired Brick & Vintage Photo distress inks. Heirloom Gold perfect pearls.

Have a great week y'all!

Sunday, October 31, 2010

Compendium of Curiosities Challenge Week 19

Taking it to the EXTREME with masking this week over at Studio L3's Compendium of Curiosities Challenge. Check out T!m's blog for information about getting your very own copy of this inspirational manual. This technique appears on page 61.

Give me a C!! So, here's what I've decided to do for the remainder of my submissions. I'm creating a pennant banner for my room that says CREATE (and whatever else I can come up with)...so here's the C. Back to using the reds, yellows and oranges with this one. Guess I'll have to face the fact that i'm drawn to these colors although I never wear them.

I've used a number of reds, oranges & yellow Distress Inks for this on paper from Club Scrap (Gimme a Ring & Scholarship kits); a cutting file courtesy of Laina Lamb and stamps from a variety of sources (too many probably, lol).

The mojo is slowly making it's way back to me, but finding the time to do anything about it is getting increasingly hard.

Sunday, October 24, 2010

Compendium of Curiosities Challenge Week 18

Another week, another Compendium of Curiosities Challenge at the Studio L3 blog....this week it's Dabber Resist. My papers (as almost always) are from Club Scrap....these are from the Textiles & Notions and Simply Beautiful kits (oldies but goodies). I think this corner stamp is from Kelly Panacci, but don't quote me on that! I've added some dollar tree jewels and some lavender stickles for a little sparkle. Oh, and I used dusty concord & Rusty Hinge distress inks as well as my favorite pearl glimmer mist.

I'm still feeling like someone has stolen my creative mojo, but I managed to eek this out just under the wire. I wish you all a productive and creative week ahead! I'm super excited because I'm starting an accelerated college course tomorrow night (yes, at 43 years old I'm going back to school!) I guess you're never too old to learn, right?

Saturday, September 11, 2010

Compendium of Curiosities Challenge Week 13


For this weeks Studio L3 challenge, Linda has us making Grunge paper flowers using the instructions found on page 65 of T!m's Compendium of Curiosities.

I don't normally do "cute" Halloween...I'm much more into the macabre, but I chose to use my flower as an embellishment to a paper drawstring basket which I will fill with Halloween candy for my desk at work. The instructions for how to make this cutie can be found on the Club Scrap site here (I'm not sure but you may have to be a member to view the video tutorial....so, if you wanna join, let me know!!). It's very easy to make, and if you can't view the video, i'm happy to send you written instructions. The green paper is from Club Scrap's Wheel & Sprocket kit and the black is from the Expressions kit. The patterned paper is from a DCWV Halloween pack.

My flower is inked with DI's (peeled paint & dusty concord) and embossed with the checkerboard & retro circles texture fades. Leaves were cut with pinking shears. I added the eyeball eraser center & plastic spider just for fun.

Thanks for looking and be sure to take a moment today to say a prayer for all of those touched by the events of September 11, 2001.


Sunday, August 15, 2010

Compendium of Curiosities Challenge Week 9

Here i am again, just getting this submitted under the wire and also I have a confession to make. I think Tim's products are wonderful and I own many and want to own just about all of them.......exception: distress crackle paint. I am not a fan. It dries up and becomes useless. I'm not the only one who has had this problem, so I do not have any that I can use and I don't plan to buy it again unless the formula is improved. So, i had to improvise with another crackle product that is a two step process and the results aren't nearly as cool...what's a girl to do.


This "handsome devil" is my SO as a child (isn't he precious?) I took a scan of an old photo and added devil horns (which you can't even see) and colored his shirt red in Photoshop. I coated corrugated cardboard with silver paint, then a layer of crackle medium and finally top-coated with a red. I REALLY need to invest in some good quality paints (like Claudine's), but again, i used what i had on hand. The flames and pitchfork were found online and cut with my QK Silhouette and the Grungeboard letters were painted with the same silver paint under the red. Although you can't tell it, i inked the mesh with mustard seed and the handsome is inked with spiced marm. There are probably many more layers and such i could add, but I'm tired and I think I'm afraid of ruining what I do have. TFL

Wednesday, August 4, 2010

Compendium of Curiosities Challenge Week 8


Inked Grunge - I'll have to admit that I've owned grunge paper for several months and never used it...shame on me! So, imagine my delight when I saw what the wonderfully talented Linda over at StudioL3 was issuing us CofC Challenge fans to do.


These are 2 pinwheels (not working pinwheels mind you) that I'll probably use as plant picks/decorations at my most favorite time of the year.....Halloween. I had fun with this one! Hope you did too.